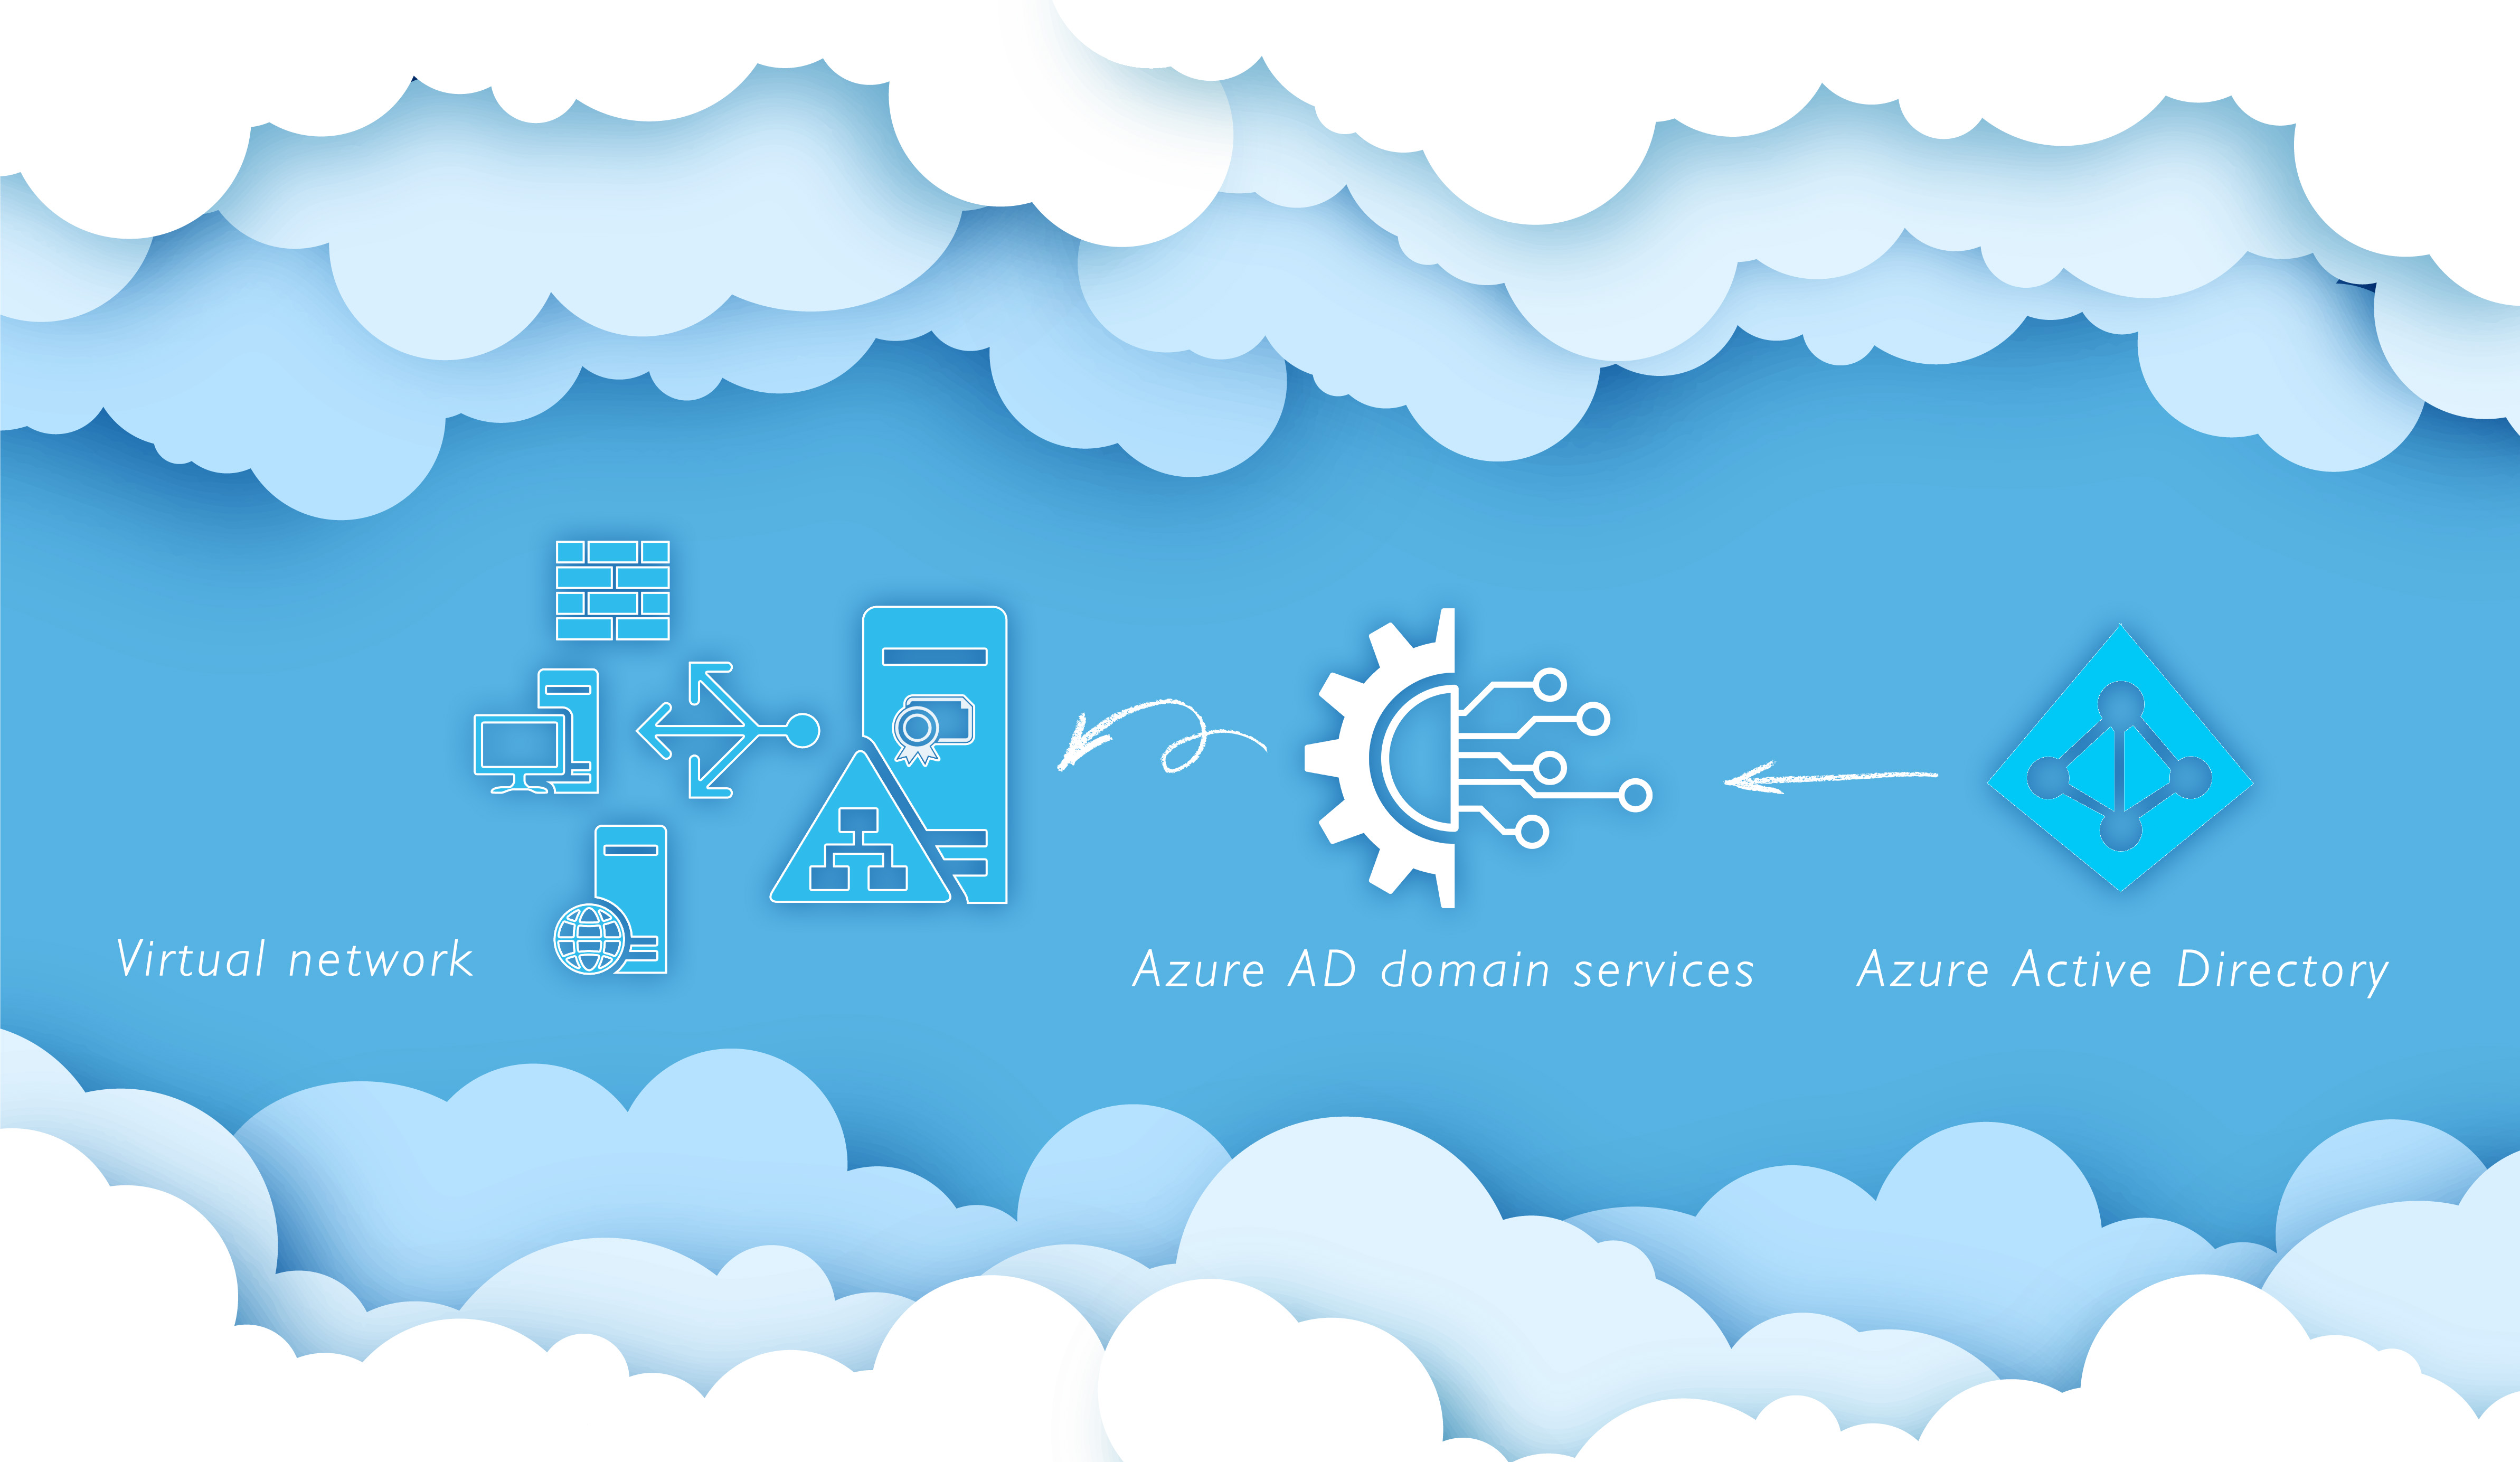
Azure Active Directory (Azure AD) Domain Services is a cloud-based service provided by Microsoft that enables you to provide domain services such as domain join, group policy, and LDAP to Azure VMs without the need for domain controllers. This article will guide you through the steps required to set up and use Azure AD Domain Services.
Step 1: Create an Azure AD Domain Services Instance
The first step is to create an Azure Active Directory Domain Services instance. To do this, follow these steps:
- Sign in to the Azure portal with your Azure AD account.
- Click on the “Create a resource” button.
- Search for “Azure AD Domain Services” and select it from the list of results.
- Click on the “Create” button to start the creation process.
- Configure the basic settings for your Azure AD Domain Services instance, including the domain name, subscription, resource group, and region.
- Configure the networking settings for your Azure AD Domain Services instance, including the virtual network, subnet, and IP address range.
- Configure the management settings for your Azure AD Domain Services instance, including the domain administrator account and the DNS domain name.
Step 2: Enable Domain Services for Azure VMs
Once you have created your Azure AD Domain Services instance, you need to enable domain services for your Azure VMs. To do this, follow these steps:
- Open the Azure portal and navigate to the virtual machine that you want to enable domain services for.
- Click on the “Networking” tab and select the “Azure AD Domain Services” option.
- Enable the “Register with Azure AD Domain Services” option.
- Enter the DNS domain name that you configured for your Azure AD Domain Services instance.
- Click on the “Save” button to save your changes.
Step 3: Test Domain Services
To test domain services, follow these steps:
- Log in to the Azure VM that you enabled domain services for.
- Open the Command Prompt or PowerShell window and run the following command: “echo %USERDOMAIN%“.
- Verify that the output of the command matches the DNS domain name that you configured for your Azure AD Domain Services instance.
- Test group policy and LDAP functionality by creating a test group policy object or running a test LDAP query.
Conclusion
Azure AD Domain Services provides a convenient and secure way to provide domain services such as domain join, group policy, and LDAP to Azure VMs without the need for domain controllers. By following the steps outlined in this blog, you can easily create an Azure AD Domain Services instance, enable domain services for your Azure VMs, and test the functionality of domain services. This allows you to easily manage and secure your Azure VMs and provide a seamless user experience for your users.
If you are interested to check out the Difference between AD domain services and Azure AD domain services, check the embedded link.


