- SAMAccountName: This is also a naming attribute that is used to uniquely identify a computer object in the network. It is the pre-Windows 2000 logon name of an object.
- ObjectCategory: It includes the distinguished name of the object class to which the computer object belongs or the name of one of its superclasses.
- ObjectClass: It contains the distinguished name of the object class to which the computer object belongs.
What is an AD computer object?
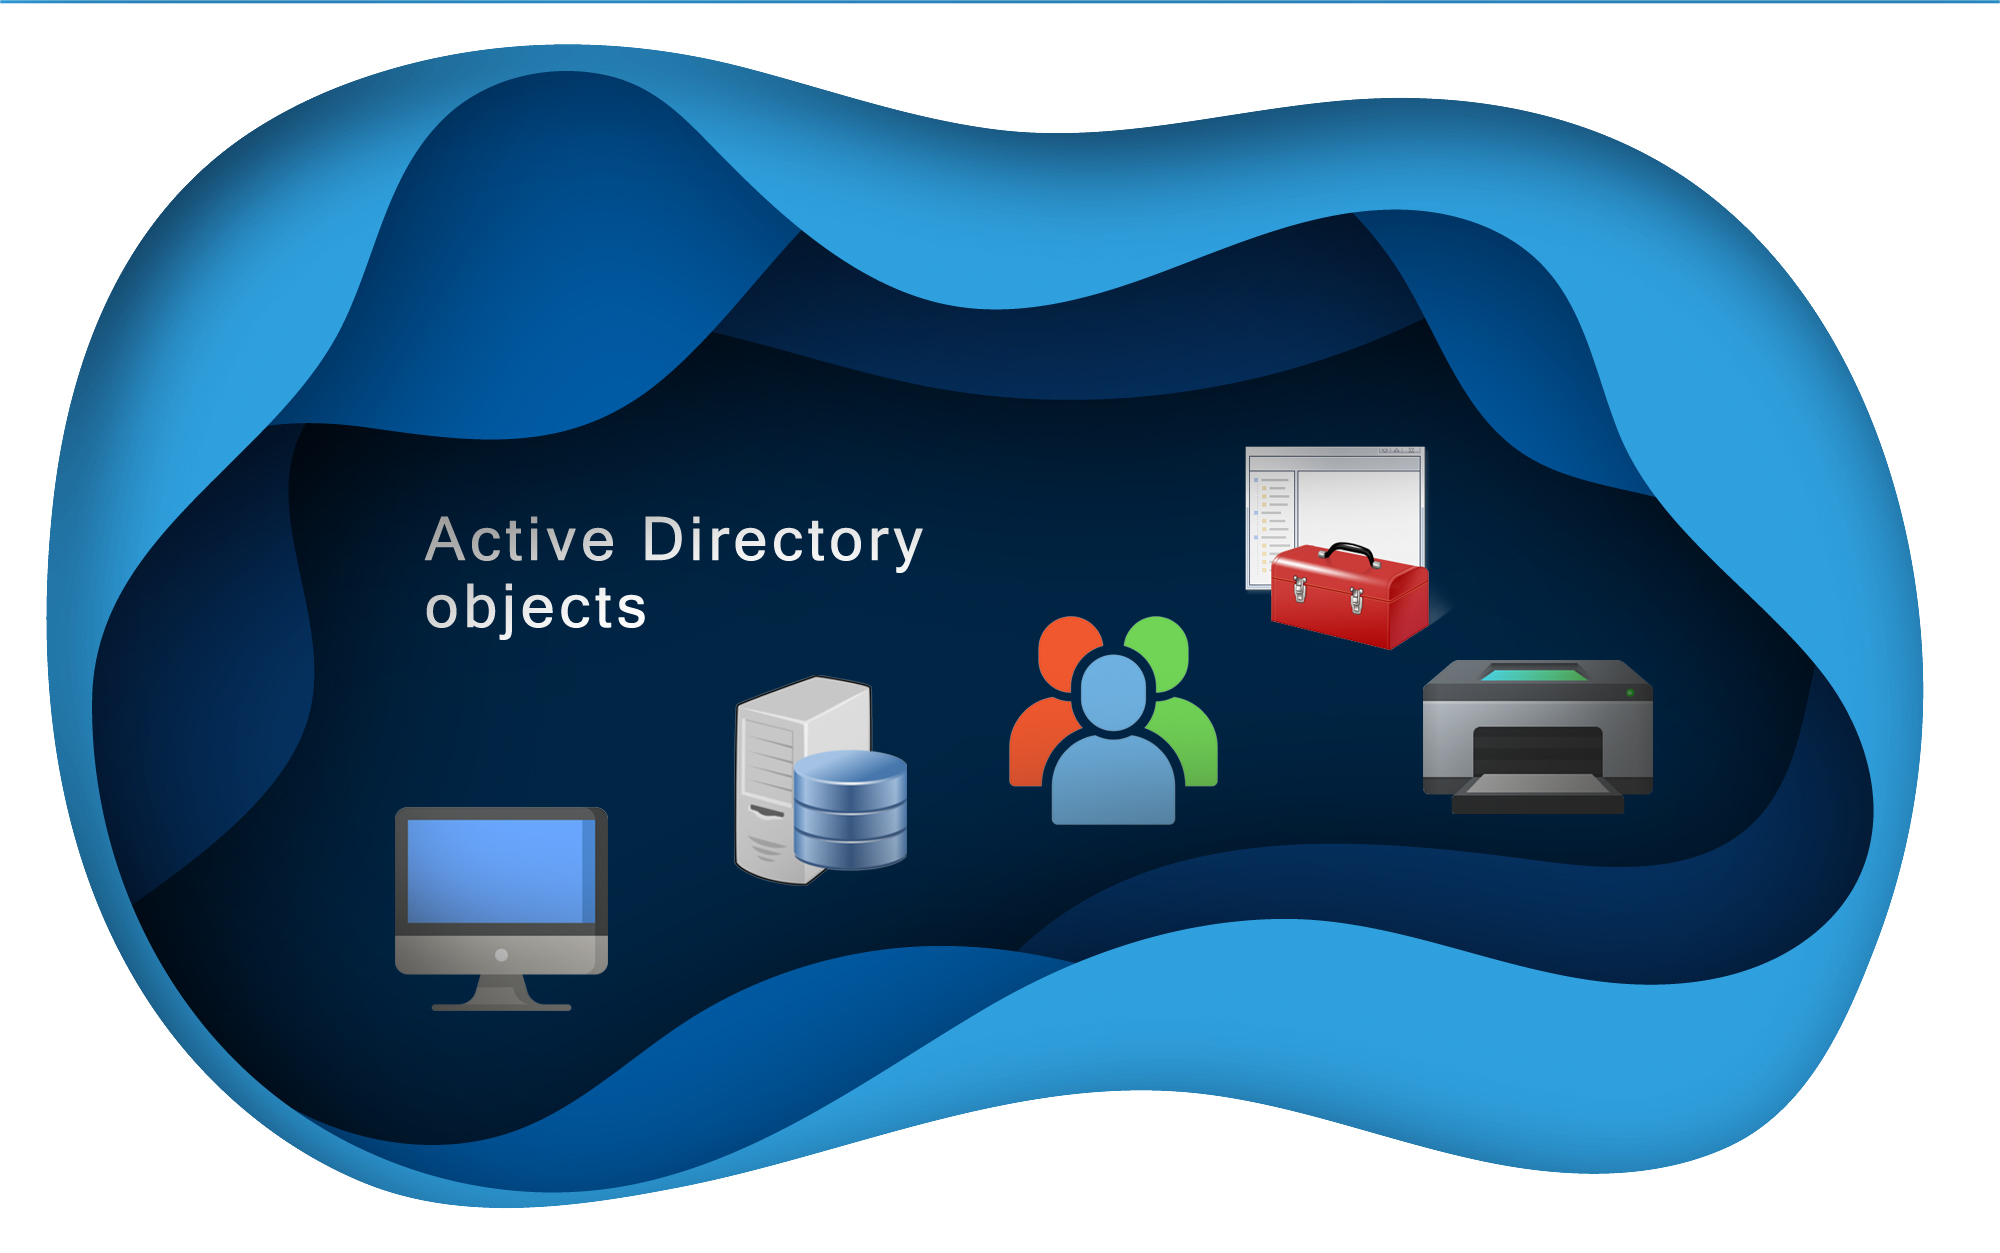
An AD computer object represents a computer within an organization’s network. It is defined by attributes that contain information such as the computer name, ID, location, role, operating system version, and more. It cannot contain any other Active Directory object, hence it is classified as a leaf object. Computer objects serve as a security principal, which means they are an entity that can be authenticated by the system and used to control access to network resources by assigning permissions and security groups.
Object attributes:
In Active Directory, each object is assigned a set of attributes called properties, that define the object. There are common attributes that define a computer object’s properties such as Name, Location, Member of, Description and Managed by.
Some of these attributes are mandatory and must have a value. These include:
- cn: The name of the computer used to distinguish and uniquely identify the object in the AD network.
How to create a computer object?
Let us look at the various methods for creating an AD computer object in Active Directory:
Using ADUC:
- Open the Active Directory Users and Computers (ADUC) console.
- Right-click on the computer container in the left pane and choose New -> Computer.
- The Object Creation wizard appears. Enter the name and attributes of the computer object, then click Next.
- The Computer Object Creation wizard is launched.
- Enter the computer object’s name in the computer name field. The Computer name (pre-Windows 2000) field is automatically filled based on the name entered.
- In the User or Group field, click Change and look for the user or group to whom you want to provide computer access.
- Click OK, and the computer object will be created and placed in its appropriate container.
Using PowerShell:
To create computer objects in PowerShell, use the following command.
New-ADComputer -Name -path
Using ADAC:
- Open the Active Directory Administrative Center (ADAC).
- Select the Organizational Unit (OU) or container in which the computer object should be created.
- From the task list, Click New and select Computer.
- The Create Computer wizard is launched.
- Enter the name of the computer. The name of the computer (NetBIOS) will auto-populate based on the name entered.
- Mark the checkbox Protect from accidental deletion.
- Select the User or Group to whom you want to provide the computer access by clicking Change.
- Add a computer manager by clicking Edit in the Managed By section.
- Click Add in the Member Of section to add the computer to any group.
- Click OK to create the computer object.
How to delete a computer object?
- Open the Active Directory Users and Computers (ADUC) console.
- Right-click on the computer object you want to delete.
- Choose Delete from the list of options.
- The computer object will be deleted.
Management of computer objects:
In ADUC, computer objects can be managed using the object’s properties. Right-click on the object and select Properties from the context menu to view its properties. A dialogue box with nine tabs will appear. Continue reading to learn more about each tab.
- General: This tab displays common information of the computer object such as DNS name, Computer name, and Role, which cannot be modified. You can add a brief description of the computer in the description box.
- Operating System: It contains read-only information about the operating system on the computer, such as
- the name of the operating system,
- the version of the operating system, and
- the service pack level that has been applied to the operating system.
- Member Of: This tab offers information about the container objects, such as OUs and groups, in which the computer is located. It will be assigned to the Domain Computers or Domain Controllers group by default. You can add the computer to other groups by clicking the Add button, and you can remove the machine from a group by clicking the Remove button.
- Delegation: This tab allows services on this computer to operate on behalf of another user. It specifies whether the computer can be trusted for delegation and what services are assigned. This tab contains three delegation options:
- Do not trust this computer for delegation – default option that does not allow delegation on any of the computer’s services.
- Trust this computer for delegation to any service(Kerberos only) – Allows delegation of services on the computer as long as Kerberos authentication is used.
- Trust this computer for delegation to specified services only – Allows only the specified services to be delegated on the computer.
- Location: This tab allows you to provide information about the computer’s physical location within the organization. It has a single text box where you can enter the name of the location and a Browse button for choosing locations.
- Dial-in: This tab lets you customize the settings that are used when the computer attempts to connect to the network remotely through dial-up or VPN.
- Managed By: This tab offers information on the user who is in charge of managing the computer object and allows you to choose the manager. Click the Change button to designate a manager. The Name field will display the specified account. The account’s properties can be accessed by clicking the Properties button, and the contact information can also be found. You can click the Clear button to remove this account from a manager role.
- Object: This tab gives additional details about the object. The Object class field indicates that this is a computer object, while the Canonical name of the object field displays the computer’s canonical name. You can also find out when this object was created and when it was last modified. The Update Sequence Numbers (USNs) fields display the object’s Original and Current update sequence numbers, which can be used to confirm that all DCs have the most recent version of this object.
- Security: This tab contains the computer object’s security details, such as access rights and privileges, and allows you to adjust the permissions that other accounts have in for the computer object. It displays the users and groups who can be granted permissions. The Add button lets you add other accounts for which permissions can be set. You can enable or disable certain permissions by choosing a check box in the Allow or Deny column. By clicking the Advanced button, you can define special permissions for objects. The Security tab also has a Remove button that can be used to delete an account. If you want to know more about security tab, follow this link.
AD computer object helps in identifying and administering Windows-based domain clients by specifying the names, properties, locations, and access privileges of computers. From this article, you have learned how to create and manage computer objects in order to improve the security and performance of Active Directory.